🛈 As an Amazon Associate, CeraVelas earns from qualifying purchases. If you buy through our links, Amazon pays us a small commission at no extra cost to you. That’s how we keep the site running. How we choose.
📑 Contents
What you’ll need
-
 Soy wax Waxes Buy
 -
 Cotton candle wicks Wicks Buy
 -
 Wooden wicks Wicks Buy
 -
 Wick stickers Wicks Buy
 -
 Wick centering devices Wicks Buy
 -
 Fragrance oils Fragrance oils Buy
 -
 Glass candle jars Containers Buy
 -
 Candle pouring pitcher Tools Buy
 -
 Candle thermometer Tools Buy
 -
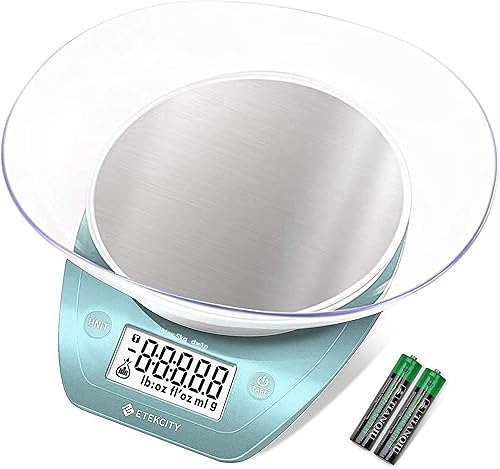 Digital scale for candle making Tools Buy
 -
 Heat gun for candles Tools Buy
 -
 Wick trimmer Tools Buy
What you need
For a batch of four 6 oz (about 180 ml) jars you'll need about 600 g (21 oz) of container soy wax (flakes are the easiest to work with), 48 g (1.7 oz) of fragrance oil for an 8% load, 4 pre-tabbed cotton wicks or 4 wood wicks, wick stickers and centering bars. Tools: a pouring pitcher, thermometer, scale, heat gun and wick trimmer. If your jars are a different size, adjust the amounts with the wax calculator.
Soy is very temperature-sensitive, so keep this chart handy (typical values; your wax's datasheet always wins):
| Stage | Typical temperature | Why it matters |
|---|---|---|
| Full melt | 75–85 °C (167–185 °F) | Melts out crystals that cause frosting |
| Add fragrance | 60–70 °C (140–158 °F) | Best bond between wax and scent |
| Pour | 50–55 °C (122–131 °F) | Smooth tops, fewer cracks |
| Room | 20–24 °C (68–75 °F) | Slow, even cooling |
Preparation
Wipe the jars with rubbing alcohol to remove any grease and let them dry. Warm the glass a little if your house is cool: soy shrinks as it cools, and if the glass is cold it pulls away and leaves wet spots.
Pick your wick. Cotton wicks are easier to dial in; wood wicks give you that cozy crackle but need more testing and the right width for your jar's diameter. Either way, start with what the wick calculator suggests and test one size up and one size down. Stick the tabs in the center and keep your centering bars ready.
Process
Melt the wax in a double boiler and hold it at 75–85 °C (167–185 °F) for a few minutes. That makes sure there are no unmelted crystals left, which would show up later as a white haze. Take it off the heat and let it drop to 60–70 °C (140–158 °F).
Add the fragrance oil and stir slowly for two minutes without whipping, so you don't add air bubbles. Work out the exact amount with the fragrance calculator and stay under your wax's maximum load (many soy waxes handle 10–12%, but you rarely need that much).
Now the real soy trick: pour cool. Let the wax drop to around 50–55 °C (122–131 °F), when it just starts to look slightly cloudy on the sides of the pitcher. Pour slowly and leave 1/2 inch (1–1.5 cm) of headspace. Set the centering bars and let the candles cool somewhere warm and draft-free. Never put them in the fridge.
If the top sets bumpy or with a small sinkhole, give it a quick pass with the heat gun the next day.
Curing
Soy rewards patience: cure your candles for at least 14 days, ideally with lids on. During that time the wax finishes crystallizing and locks in the fragrance, so the hot throw gets noticeably stronger. The candle curing guide has more detail.
Store them somewhere cool and stable, around 64–72 °F (18–22 °C). Big temperature swings while curing, like a sunny windowsill in the afternoon or a cold porch at night, encourage frosting and wet spots. If they're gifts, write the pour date on the bottom so you know when they're ready.
First burn
Trim cotton wicks to 1/4 inch (5–6 mm) and wood wicks to about 1/8–3/16 inch (3–5 mm). Let the first burn create a full melt pool that reaches the edge of the jar, roughly 1 hour per inch of diameter. Wood wicks need a patient first light: if one goes out, let it dry and relight it. Never leave a candle unattended or burn it near curtains, and always test burn one candle from each batch.
Variations and ideas
- Soy-coconut blend: adding 20–30% coconut wax gives a creamier top and less frosting.
- Unscented soy: perfect for the dinner table, where fragrance would compete with the food.
- In tins: see candles in tins for a travel-friendly version.
- Soy or paraffin? Settle it with soy vs paraffin.
Troubleshooting
Frosting (white haze)
These are natural soy crystals and they don't affect the burn. Reduce them by melting fully, pouring cooler and blending in a little coconut wax. Dark colors make frosting more noticeable.
Wet spots
Patches where the wax has pulled away from the glass. Warm the jars before pouring and let them cool slowly. They're cosmetic only.
Cracked or pitted tops
You poured too hot or the candles cooled too fast. Fix the surface with a heat gun.
The wood wick keeps going out
It's usually too small for the diameter or trimmed too long. Change the size or trim it shorter. More fixes in the troubleshooting guide.
Step by step
- 1 Wipe the jars with rubbing alcohol, let them dry and warm the glass if it's cold.
- 2 Stick a cotton or wood wick to the center of each jar.
- 3 Weigh out 600 g (21 oz) of soy wax and 48 g (1.7 oz) of fragrance oil, an 8% load.
- 4 Melt the wax in a double boiler and hold it at 75–85 °C (167–185 °F) for a few minutes.
- 5 Remove from heat and let it cool to 60–70 °C (140–158 °F).
- 6 Add the fragrance oil and stir slowly for two minutes without whipping.
- 7 Wait until the wax reaches 50–55 °C (122–131 °F) and starts to cloud on the pitcher sides.
- 8 Pour slowly, leaving 1/2 inch of headspace, and set the centering bars.
- 9 Let the candles cool in a warm, draft-free spot, never in the fridge.
- 10 The next day, smooth the tops with a heat gun if needed.
- 11 Cure the candles with lids on for at least 14 days.
- 12 Trim the wick and test burn until you get a full melt pool.
Tips
- Use a container soy wax: pillar soy is harder and doesn't stick to glass as well.
- Stir, don't whip. Air bubbles leave holes in the surface.
- Go easy on dye: deep colors make frosting stand out.
- With wood wicks, always test at least two sizes in your first batch.
- Spilled soy wax cleans up with hot water and dish soap.
Mistakes to avoid
- Pouring soy too hot: it almost always causes cracks, sinkholes and wet spots.
- Cooling candles in the fridge to speed things up: the wax shrinks suddenly and cracks.
- Not melting fully: leftover crystals cause frosting and a grainy texture.
- Lighting before two weeks and deciding the fragrance is weak.
- Using the same wick for every jar size: each diameter needs its own wick.
⚡ Our top picks: soy wax
Stock checked on October 6, 2026
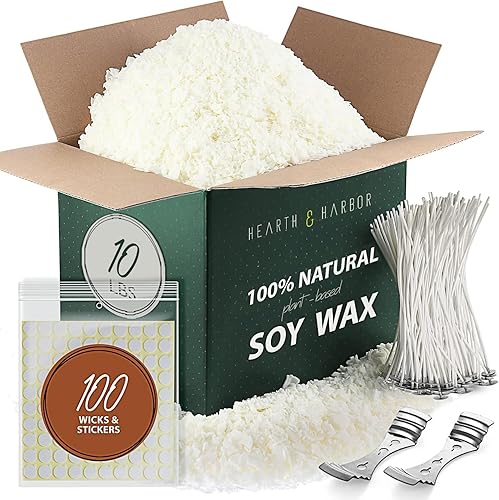
The best soy wax for soy candles
American Soy Organics Freedom Soy Wax Beads, All-Natural Candle Wax, 5 lbs
American Soy Organics Freedom Soy Wax Beads, All-Natural Candle Wax, 10 lbs

American Soy Organics Freedom Soy Wax Beads, All-Natural Candle Wax, 1 lb
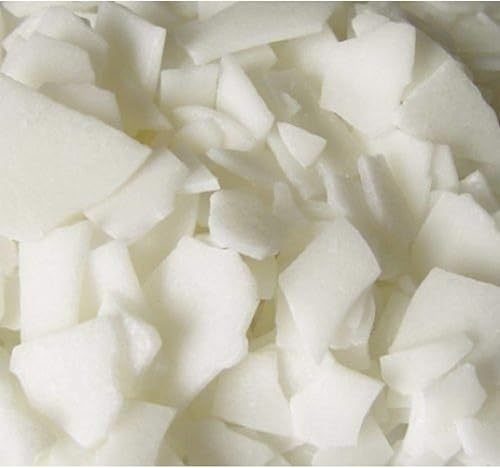
The Candlemaker's Store Natural Soy Wax, 10 lb. Bag
Hearth & Harbor Organic Candle Wax, Pure Soy Wax for Candle Making, 10 lbs

Hearth & Harbor Organic Candle Wax, Pure Soy Wax for Candle Making, 5 lbs
CeraVelas score: combines the average rating and the number of customer reviews on Amazon.
Frequently asked questions
What temperature do you pour soy wax at?
Usually 50–55 °C (122–131 °F), though each manufacturer lists its own range. Pouring cool is the best way to get smooth tops.
Why does my soy candle have white marks?
That's frosting, a natural crystallization of soy wax. It's not a safety issue, and it's reduced by melting fully and pouring cooler.
Cotton or wood wicks for soy candles?
Both work. Cotton is easier to dial in; wood gives you the crackle but takes more testing.
How long should soy candles cure?
At least 14 days. Many makers wait three weeks for softer fragrances.
Is soy wax eco-friendly?
It's plant-based and renewable, but it's worth checking sourcing and additives. We cover it in our {{guide:velas-ecologicas|eco-friendly candles}} guide.
More projects to make at home