🛈 As an Amazon Associate, CeraVelas earns from qualifying purchases. If you buy through our links, Amazon pays us a small commission at no extra cost to you. That’s how we keep the site running. How we choose.
📑 Contents
What you’ll need
-
 Paraffin wax Waxes Buy
 -
 Cotton candle wicks Wicks Buy
 -
 Fragrance oils Fragrance oils Buy
 -
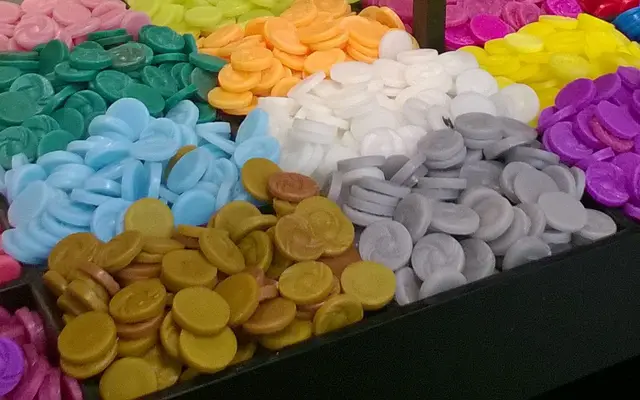
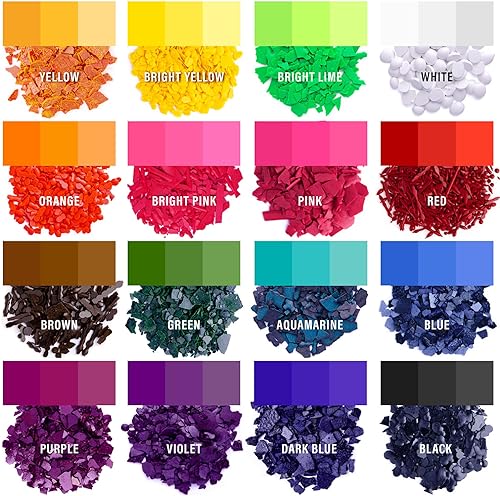 Candle dye chips Dyes Buy
 -
 Silicone candle molds Molds Buy
 -
 Candle pouring pitcher Tools Buy
 -
 Candle thermometer Tools Buy
 -
 Digital scale for candle making Tools Buy
 -
 Wick trimmer Tools Buy
What you need
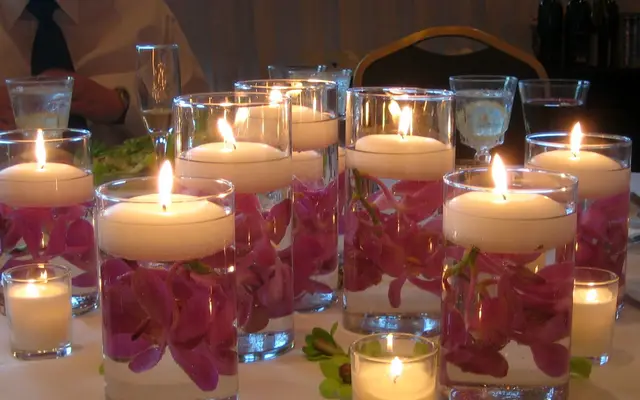
A candle floats because wax is less dense than water. But to float upright and steady, it needs to be wider than it is tall, with a flat bottom. That's why floating candles are made in shallow molds: discs, flowers, stars or hearts about 2–3 inches (5–8 cm) across and roughly 1 inch (2–3 cm) tall.
The best wax is a hard one that releases easily and doesn't soak up water: paraffin or a pillar wax. Palm wax works too. Container soy is too soft for this job.
For about 8 floating candles you'll need around 350 g (12 oz) of wax, 8 pieces of thin untabbed cotton wick (about 1.5 inches each), dye chips if you want color, optional fragrance oil (0–5%) and shallow silicone molds. Low, round silicone molds or shaped molds both work. Tools: a pouring pitcher, thermometer, scale, a skewer or needle and a wick trimmer.
| Mold (diameter × height) | Wax per candle | Wick |
|---|---|---|
| 2 × 0.8 in (5 × 2 cm) | 25–30 g (about 1 oz) | Small |
| 2.5 × 1 in (6.5 × 2.5 cm) | 40–45 g (about 1.5 oz) | Small to medium |
| 3 × 1.2 in (8 × 3 cm) | 70–80 g (about 2.6 oz) | Medium |
Preparation
Set the molds on a perfectly level tray. If the bottom of the candle comes out slanted, it'll float crooked. Prime the wicks: dip them in a little melted wax, pull them straight and let them harden. That makes them stiff and easy to insert later.
Fragrance is optional. For weddings and dinners, unscented is usually the way to go; if you do add scent, keep it at 2–5% and figure the amount with the fragrance calculator.
Process
Melt the wax in a double boiler to 75–85 °C (167–185 °F). Add dye and, if using, fragrance at about 75–80 °C (167–176 °F), and stir for two minutes.
Pour into the molds at 70–80 °C (158–176 °F), filling them to the top. Wait for a skin to form and the wax to start turning opaque, usually 10–20 minutes depending on size. Then poke a hole in the center with the skewer and push the primed wick in until it nearly touches the bottom. If the wax has already set too firm, warm the tip of the skewer.
As it cools, a small dip forms around the wick. Fill it with a little reheated wax so the top is flat. Let the candles cool completely, an hour or two, then unmold.
Check the bottoms: they should be smooth. If not, set them on a warm skillet lined with foil for a few seconds. Trim the wick to about 3/16 inch (5 mm).
Curing
Paraffin floating candles don't need a long cure. After 1–2 days the wax has fully hardened. If you scented them, a few extra days help the fragrance settle in. More in the curing guide.
If you're making them ahead for an event, store them in a flat box with tissue paper between layers, somewhere cool. That keeps them from scratching or warping, and the colors won't fade in the light.
First burn
Always do a test run in a bowl of water before your event: the candle should float level and the flame should stay small and steady. Use a glass or ceramic bowl deep and wide enough that the candles don't touch the sides. Leave space between them, since heat builds up when they bunch together.
Never leave them burning unattended or near dried flowers, ribbon or fabric, and avoid breezy spots outdoors. If you float petals in the water, keep them away from the flames. Floating candles burn for less time than a big candle, so keep spares on hand.
Variations and ideas
- Shapes: flowers, seashells or hearts with silicone molds for themed parties.
- Colored water: a few drops of food coloring in the water look great and don't affect the candle.
- Weddings: pair them with pillar candles around the bowl.
- Quick alternative: if you'd rather skip the water, see tealight candles.
Troubleshooting
The candle floats tilted
The bottom isn't flat or the wick isn't centered. Level the base and set the wick dead center.
It sinks or the wick gets wet
The candle is too tall and narrow. Use wider, shallower molds.
It won't release from the mold
The wax is too soft or hasn't cooled yet. Wait longer or switch to paraffin or pillar wax.
Big flame and dripping
The wick is too thick or too long. Trim it and use a thinner one. More help in the troubleshooting guide.
Step by step
- 1 Set the shallow silicone molds on a level tray.
- 2 Prime the wicks by dipping them in melted wax and letting them harden straight.
- 3 Weigh out about 350 g (12 oz) of paraffin or pillar wax for 8 candles.
- 4 Melt the wax in a double boiler to 75–85 °C (167–185 °F).
- 5 Add dye and, if you like, fragrance (5% max) at 75–80 °C (167–176 °F) and stir for two minutes.
- 6 Pour into the molds at 70–80 °C (158–176 °F), filling to the top.
- 7 Once a skin forms, poke the center with a skewer and insert the wick.
- 8 Fill the dip around the wick with a little hot wax.
- 9 Let the candles cool completely and unmold them.
- 10 Level the bottoms if needed and trim the wick to 3/16 inch.
- 11 Test the candles in a bowl of water before using them.
Tips
- The wider and lower the candle, the steadier it floats.
- Priming the wick with wax makes it stiff and easy to insert.
- Use deep glass or ceramic bowls and leave room between candles.
- For events, make a few extras: they burn for less time than a big candle.
- Dry the candles thoroughly before storing them if you tested them in water.
Mistakes to avoid
- Using soft soy wax: it loses its shape and is hard to unmold.
- Making tall, narrow candles: they tip over and drown the wick.
- Inserting the wick while the wax is still liquid: it falls over or tilts.
- Crowding lots of lit candles in a small bowl.
- Floating petals or decorations close to the flames.
⚡ Our top picks: paraffin wax
Stock checked on October 6, 2026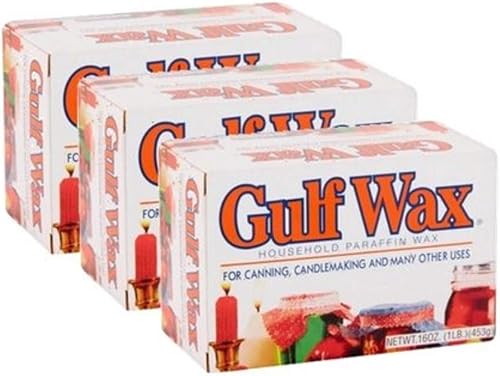

The best paraffin wax for floating candles
Gulf Wax Household Paraffin Wax 1 Pound Bars (3 Packs)
Fully Refined Paraffin Candle Wax Slab, 10 lb Bulk Wax for Candle Making

CARGEN 885g Paraffin Wax Pellets - Pure Beads for Candle Making and Crafts

Direct Candle Supply 2lb Paraffin Wax for Candle Making

Direct Candle Supply 3lb Paraffin Wax for Candle Making
See more paraffin wax on Amazon →
CeraVelas score: combines the average rating and the number of customer reviews on Amazon.
Frequently asked questions
Why does a candle float?
Because wax is less dense than water. If the candle is also wide and low, it floats steady and upright.
What's the best wax for floating candles?
A hard wax like paraffin or pillar wax. Container soy is too soft.
Can I scent floating candles?
Yes, lightly, up to 5%. For weddings and dinner tables, unscented is usually preferred.
How long do floating candles burn?
It depends on size and wick; small ones burn for less time than a jar candle, so keep spares handy.
Can I use them in a pool or fountain?
It's not a good idea: wind and moving water can tip them over. Use them in stable bowls and always keep an eye on them.
More projects to make at home