🛈 As an Amazon Associate, CeraVelas earns from qualifying purchases. If you buy through our links, Amazon pays us a small commission at no extra cost to you. That’s how we keep the site running. How we choose.
📑 Contents
What you’ll need
-
 Soy wax Waxes Buy
 -
 Cotton candle wicks Wicks Buy
 -
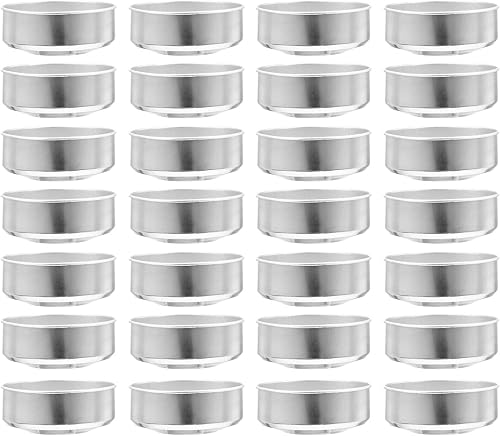 Tealight cups Molds Buy
 -
 Fragrance oils Fragrance oils Buy
 -
 Candle pouring pitcher Tools Buy
 -
 Candle thermometer Tools Buy
 -
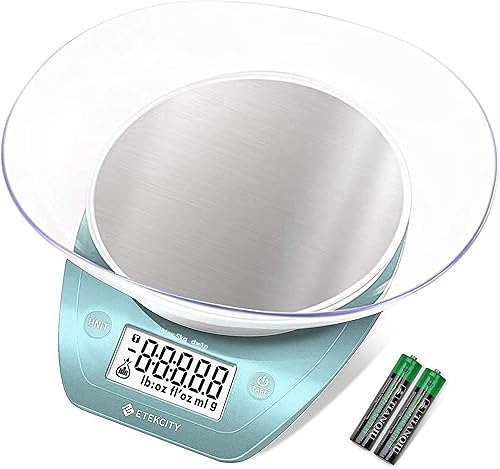 Digital scale for candle making Tools Buy
What you need
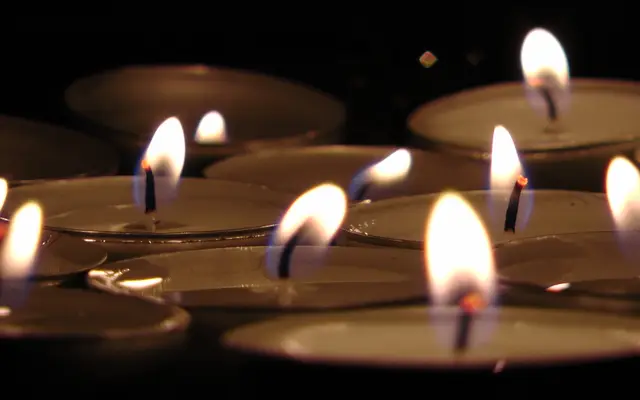
A tealight is a tiny candle inside an aluminum or clear polycarbonate cup. That cup is part of what makes it safe: it holds the melted wax so nothing spills. You'll need tealight cups, short tealight wicks with metal tabs (usually sold ready to go as pre-tabbed cotton wicks), wax and, if you like, a little fragrance oil.
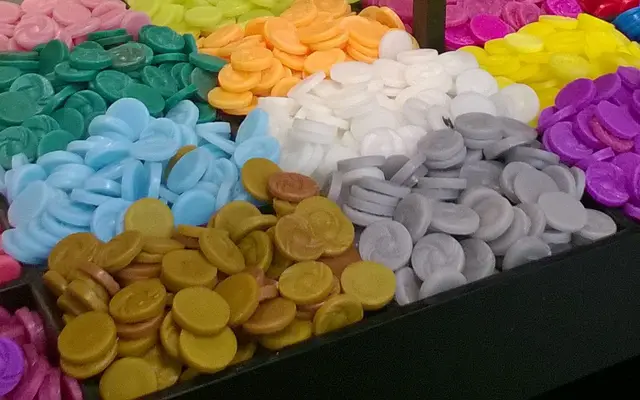
The most popular choice is container soy wax, though rapeseed and paraffin also work really well in this format. Tools: a pitcher with a good spout, a thermometer, a scale and a flat sheet pan.
| Batch size | Wax | Fragrance at 5% | Wicks and cups |
|---|---|---|---|
| Test | 180 g (6.3 oz) | 9 g (0.3 oz) | 12 |
| Standard | 350 g (12.3 oz) | 17 g (0.6 oz) | 24 |
| Large | 700 g (24.7 oz) | 35 g (1.2 oz) | 48 |
A standard cup holds about 12–15 g (roughly 1/2 oz) of wax. If you're using larger "maxi" cups, recalculate with the wax calculator.
Preparation
Arrange the cups on a flat sheet pan, close together but not touching. Drop a wick into each one and press the tab against the bottom. Many tealight wicks stand up on their own, but a dot of melted wax or a tiny wick sticker keeps them from shifting while you pour.
Tealights take very little fragrance. Because they're so small, the melt pool forms almost instantly, and too much fragrance can cause smoke or drown the wick. A 3–6% load is typical. If they're going under an oil warmer or on a dinner table, consider leaving them unscented. Work out the amount with the fragrance calculator.
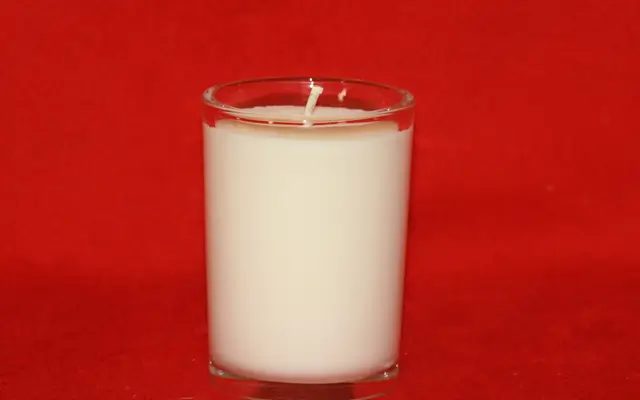
A word on cups: aluminum cups are cheap, light and recyclable, and they're what most warmers are designed around. Clear polycarbonate cups let the flame glow through the side and look lovely on tables and in lanterns, but check that the maker rates them for tealight use. Either way, buy cups and wicks sized to match, so the wick sits centered and at the right height.
Process
Melt the wax in a double boiler to 75–80 °C (167–176 °F). Take it off the heat and add the fragrance at 60–70 °C (140–158 °F), stirring for two minutes.
Let it cool to 50–55 °C (122–131 °F) and pour into the cups, stopping about 1/16 inch (2 mm) below the rim. The cups fill in a split second, so take your time and use a narrow-spout pitcher; a large syringe or a squeeze-spout pitcher helps a lot. If a wick leans, straighten it with a toothpick while the wax is still liquid.
Let them cool without moving the pan. As the wax sets, a small dip may form next to the wick; if the finish matters to you, fill it with a few drops of reheated wax. Once they're cool, trim the wicks to about 3/16 inch (5 mm).
Curing
If they're scented, let them cure for about 7 days in a closed box. Because they're so small, they don't need the two weeks a large candle does, but the scent does improve with the rest. Unscented tealights are ready in a day or two. More in the curing guide.
First burn
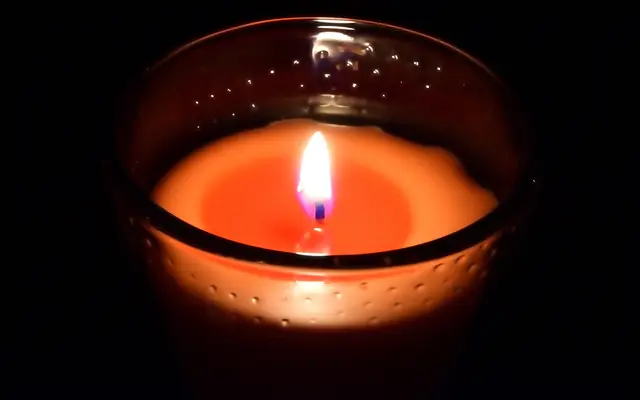
Always put a tealight in a holder, lantern or warmer, never directly on a table: the cup gets very hot and can mark or scorch surfaces. Light it and let it burn; a well-made tealight forms a full melt pool within minutes and burns steadily for several hours.
Don't cluster tealights right up against each other. The heat builds up and the wax can catch fire. Also avoid warmers where the dish sits too close to the flame. Test several from every batch.
Variations and ideas
- Clear cups: they look more polished and show off the wax color.
- For warmers: unscented tealights heat your wax melts without mixing smells.
- Floating: for something similar in bowls of water, see floating candles.
- From leftovers: wax scraps from other batches are perfect for tealights; learn how in recycled candles.
Troubleshooting
The wick drowns
Too much fragrance or a wick that's too thin. Lower the percentage or use slightly thicker tealight wicks.
Tall flame or smoke
The wick is too long or too thick. Trim to 3/16 inch and try another size.
Crooked wick
The tab wasn't anchored. Stick it down with a dot of wax before pouring.
Dip next to the wick
Normal wax shrinkage. Fill it with a few drops of hot wax. More help in the troubleshooting guide.
Step by step
- 1 Arrange the tealight cups on a flat sheet pan.
- 2 Place a tealight wick in each cup and anchor the tab with a dot of wax.
- 3 Weigh out 350 g (12.3 oz) of wax for 24 tealights and, if you like, 17 g (0.6 oz) of fragrance oil.
- 4 Melt the wax in a double boiler to 75–80 °C (167–176 °F).
- 5 Remove from heat and add the fragrance at 60–70 °C (140–158 °F), stirring for two minutes.
- 6 Let the wax cool to 50–55 °C (122–131 °F).
- 7 Pour into each cup to about 1/16 inch below the rim with a narrow-spout pitcher.
- 8 Straighten any leaning wicks and let cool without moving the pan.
- 9 Fill any dips next to the wick with a few drops of wax if needed.
- 10 Trim the wicks to 3/16 inch and cure about 7 days if scented.
- 11 Test burn a few in a tealight holder.
Tips
- A large syringe or squeeze-spout pitcher makes filling the cups much easier.
- Keep the fragrance low: in a candle this small, more isn't better.
- Aluminum cups can go in the recycling once the candle is spent.
- Store tealights in flat boxes so the wicks don't bend.
- Make an unscented batch for warmers and fondue sets.
Mistakes to avoid
- Burning a tealight directly on the table: the cup gets hot and leaves a mark.
- Clustering tealights tightly together: the heat builds up and can start a fire.
- Overdoing the fragrance: the wick drowns or smokes.
- Leaving the wick loose: it tilts as you pour and the tealight burns lopsided.
- Filling to the rim: wax spills when you move the pan.
⚡ Our top picks: soy wax
Stock checked on October 6, 2026
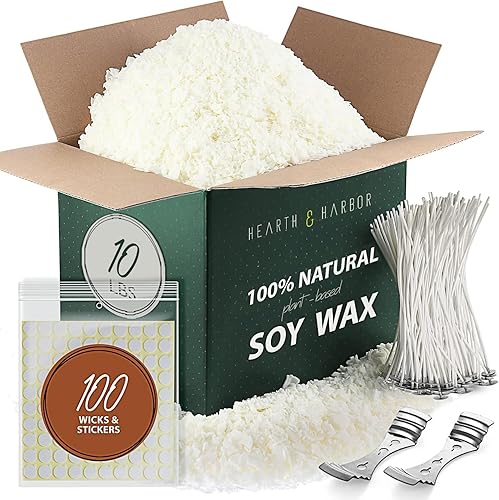
The best soy wax for tealight candles
American Soy Organics Freedom Soy Wax Beads, All-Natural Candle Wax, 5 lbs
American Soy Organics Freedom Soy Wax Beads, All-Natural Candle Wax, 10 lbs

American Soy Organics Freedom Soy Wax Beads, All-Natural Candle Wax, 1 lb
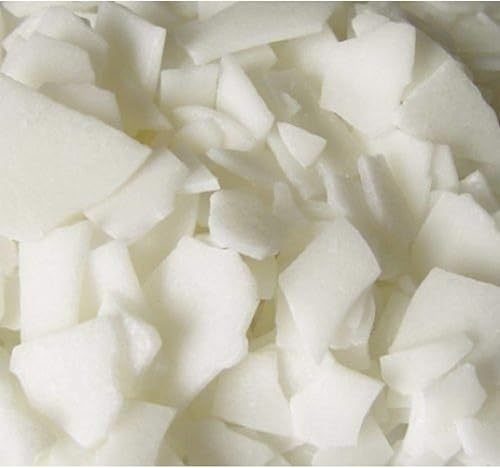
The Candlemaker's Store Natural Soy Wax, 10 lb. Bag
Hearth & Harbor Organic Candle Wax, Pure Soy Wax for Candle Making, 10 lbs

Hearth & Harbor Organic Candle Wax, Pure Soy Wax for Candle Making, 5 lbs
CeraVelas score: combines the average rating and the number of customer reviews on Amazon.
Frequently asked questions
How much wax goes in a tealight?
A standard cup holds about 12–15 g (roughly 1/2 oz) of wax. For 24 tealights, about 350 g (12.3 oz).
What's the best wax for tealights?
Soy and rapeseed work very well, and so does paraffin. What matters most is pairing it with the right wick.
Can I scent tealights?
Yes, lightly, at 3–6%. If they're for a warmer or a dinner table, unscented is better.
Why do tealights need a cup?
The cup holds the melted wax. Without it, the candle falls apart and spills hot wax.
How long does a homemade tealight burn?
It depends on the wax and wick, but a standard tealight usually burns for several hours.
More projects to make at home