🛈 As an Amazon Associate, CeraVelas earns from qualifying purchases. If you buy through our links, Amazon pays us a small commission at no extra cost to you. That’s how we keep the site running. How we choose.
📑 Contents
What you’ll need
-
 Beeswax Waxes Buy
 -
 Beeswax candle making kit Kits Buy
 -
 Cotton candle wicks Wicks Buy
 -
 Heat gun for candles Tools Buy
 -
 Wick trimmer Tools Buy
What you need
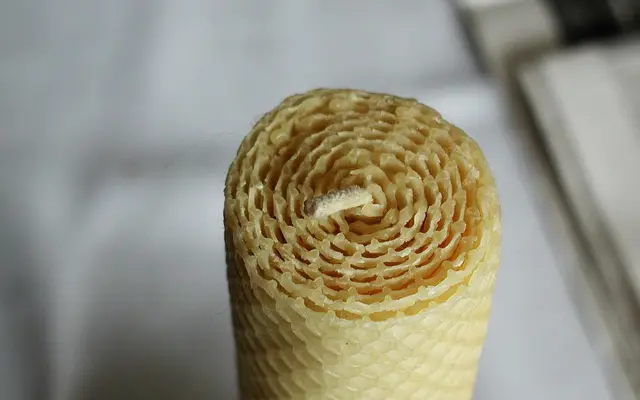
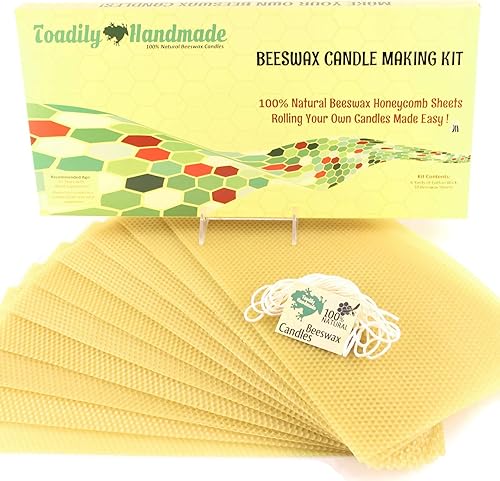
Beeswax sheets have a honeycomb texture and come in natural or dyed colors. The easiest way to start is a beeswax candle kit, which includes sheets and pre-cut wick. If you're buying separately, you'll need beeswax sheets, braided cotton wick without tabs, a craft knife, a ruler and a clean work surface. A hair dryer or a heat gun on low helps if your room is chilly.
Candle size depends on how you cut and combine the sheets. This chart assumes a standard sheet of about 8 × 16 inches (20 × 40 cm):
| Sheet cut | Finished candle | Suggested wick |
|---|---|---|
| Full sheet, rolled from the short side | About 8 in (20 cm) tall and 1 in (2.5 cm) wide | Small to medium |
| Half sheet (cut lengthwise) | About 4 in (10 cm) tall and 1 in wide | Small to medium |
| Two sheets joined | Chunky candle 1.5–2 in (4–5 cm) wide | Large |
| Sheet cut diagonally | Spiral or tapered candle | Small |
The thicker the candle, the thicker the wick. The wick calculator gives you a ballpark, but with rolled candles, testing is what really counts.
Preparation
Work in a comfortably warm room, around 68–77 °F (20–25 °C). The sheets should bend easily; if they crack when you fold them, warm them for a few seconds with a hair dryer on low, held about 8 inches away, until they feel slightly warm. Don't overdo it, or they'll get sticky and lose their honeycomb pattern.
Cut the wick about 3/4 inch (2 cm) longer than the height of the sheet. One trick that makes a real difference: prime the wick by rubbing it with a scrap of beeswax or dipping it in a little melted wax. It'll light on the first try and burn more steadily.
Process
Lay the sheet on the table with the short side facing you (or the long side for a short, chunky candle). Place the wick along the edge, letting it stick out at the top.
Fold the edge of the sheet over the wick and press it down firmly with your fingers. This first turn has to be really tight, because it's what holds the wick in place. If it's loose, the candle will burn poorly from the center.
Keep rolling slowly, pushing evenly with your palms and checking that the bottom stays straight. If it starts to drift, unroll a little and correct it. When you reach the end, press the loose edge into the candle with the warmth of your fingers to seal it.
For a chunky candle, butt a second sheet up against the end of the first and keep rolling. For a spiral candle, cut the sheet diagonally and roll starting from the longest side; you'll get a tiered, very decorative shape.
Finally, if the base is uneven, trim it with the craft knife or set it on a warm skillet for a few seconds to level it. Trim the wick to about 3/8 inch (1 cm).
Curing
No cure needed here. You haven't melted anything or added fragrance, so the candle is ready the moment you finish rolling. If you want the last turn well sealed, let it sit for a few hours somewhere warm. Curious about curing for other candle types? It's all in the candle curing guide.
First burn
Set the candle in a sturdy, heat-safe candleholder, since rolled candles drip a bit more than molded ones. Light it with the wick at 3/8 inch and never leave it unattended; keep it away from drafts and anything flammable. If the flame gets too tall or starts smoking, blow it out, trim the wick and relight. Always test one candle of each size before gifting.
Variations and ideas
- With kids: it's the perfect family craft since there's no hot wax. An adult should handle the craft knife and the lighting.
- Two-tone: layer two sheets in different colors, one slightly narrower than the other.
- Decorated: cut shapes from another sheet and press them on with your fingers.
- Gifts: tie a bundle of skinny candles with twine; more ideas in our candle gift guide.
- Ready to melt? The next step is poured beeswax jar candles.
Troubleshooting
The sheet cracks
It's too cold. Warm it for a few seconds with the hair dryer and work in a warmer room.
The candle rolls crooked
The bottom edge isn't lined up. Unroll back to where it drifted and roll again, watching the bottom edge.
It burns down the middle and leaves walls
The wick is too thin or the first turn was loose. Use a thicker wick and roll tightly at the start.
Lots of dripping
Drafts, a tilted candle or a long wick. Trim the wick and stand the candle straight. More fixes in the troubleshooting guide.
Step by step
- 1 Soften the beeswax sheets at room temperature or with a hair dryer on low.
- 2 Cut the wick about 3/4 inch (2 cm) longer than the sheet is tall.
- 3 Prime the wick by rubbing it with a bit of beeswax.
- 4 Lay the wick along the edge of the sheet, sticking out at the top.
- 5 Fold the edge over the wick and press so the first turn is very tight.
- 6 Roll slowly with even pressure, keeping the bottom edge straight.
- 7 Seal the final edge by pressing it with the warmth of your fingers.
- 8 Trim or level the base so the candle stands straight.
- 9 Trim the wick to about 3/8 inch (1 cm).
- 10 Set it in a sturdy holder and do a supervised test burn.
Tips
- If your room is cold, warm the sheets for just a few seconds; they turn pliable fast.
- Wash your hands first; oils from your skin leave marks on the wax.
- Always use a candleholder: rolled candles drip more than molded ones.
- Store leftover sheets flat and out of the sun so they don't warp.
- Use the scraps to make mini candles or decorations.
Mistakes to avoid
- Leaving the first turn loose: the wick shifts and the candle burns unevenly.
- Overheating the sheets: they stick to your hands and lose the honeycomb pattern.
- Using a thin wick in a chunky candle: it tunnels and goes out.
- Leaving the wick long: the flame grows and the candle drips.
- Burning it without a holder on a surface that can't take heat.
⚡ Our top picks: beeswax
Stock checked on October 6, 2026
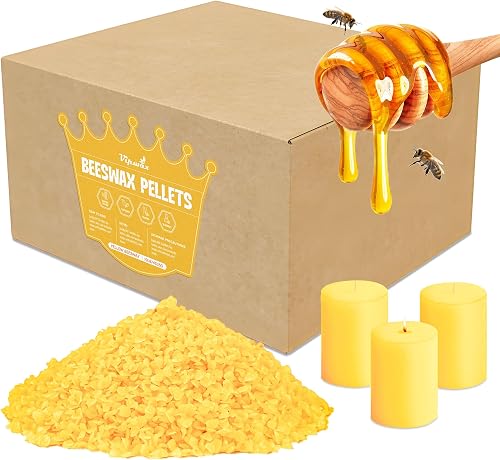
The best beeswax for rolled beeswax candles
Sky Organics Organic White Beeswax Pellets 16oz, DIY Beauty, USDA Organic

Meyer's Pure Domestic USA Beeswax, Not Imported, Additive Free Triple Filtered Pellets for All Your Do It…

VIPwax White Beeswax Pellets 1LB, Natural Organic Beeswax for Candle Making
VIPwax Yellow Beeswax Pellets 10LB(4530g), Natural Organic Beeswax

White Beeswax Pellets 5LB(2265g), Natural Organic Beeswax
Beeswax Pellets 10LB Beewax Triple Filtered Beeswax Pastilles for Candle Making Great for DIY Projects (10LB)
CeraVelas score: combines the average rating and the number of customer reviews on Amazon.
Frequently asked questions
How long does a rolled beeswax candle burn?
It depends on size and wick. A skinny 8 inch candle usually burns for several hours; chunkier ones last much longer.
Do I need to melt any wax?
No. The sheets roll cold. At most, you warm them with a hair dryer so they bend easily.
Can kids make them?
Yes, it's a great family craft because there's no hot wax. An adult should use the craft knife and light the candles.
What wick do I need?
Untabbed braided cotton wick. A smaller size for candles up to 1 inch wide and a larger one beyond that.
Can I scent rolled candles?
It's not common: the sheets already smell like honey and never get melted, so there's no practical way to mix in fragrance.
More projects to make at home