🛈 As an Amazon Associate, CeraVelas earns from qualifying purchases. If you buy through our links, Amazon pays us a small commission at no extra cost to you. That’s how we keep the site running. How we choose.
📑 Contents
⚡ Our top picks: heat gun for candles
Stock checked on October 6, 2026
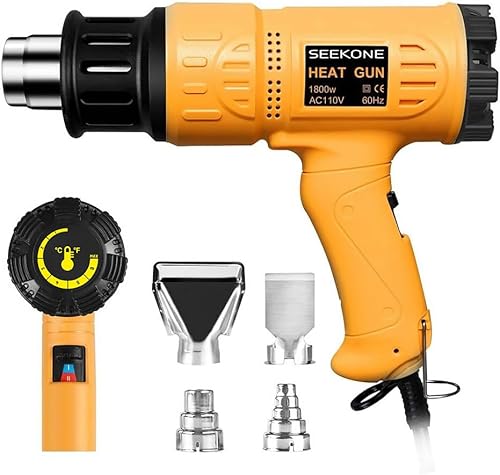

Best heat gun for candles in stock
BLACK+DECKER Heat Gun for Crafts, Corded, Dual Heat Settings up to 1000 Degrees, 1350 Watt (HG1300)
SEEKONE Heat Gun 1800W with 1112℉&752℉ 2 Temperature Settings for Crafting
SEEKONE 1800W Heat Gun Variable Temp 122℉-1202℉ for Crafts, Shrink Wrap

6.56FT Long Heat Gun, Uptdae Version Homidic Mini Handheld Hot Air Gun, Electric 300W Portable Heat Gun for…

Bubble Removing Tool for Epoxy Resin and Acrylic Art, DIY Glitter Tumblers, Specially-Designed Heat Gun for…
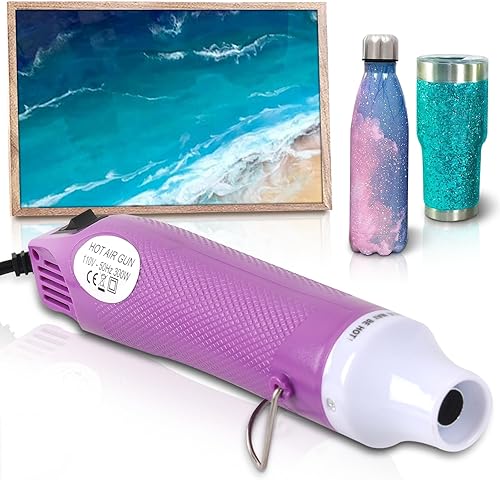
Bubble Removing Tool for Epoxy Resin and Acrylic Art, DIY Glitter Tumblers, Specially-Designed Heat Gun for…
See more heat gun for candles on Amazon →
CeraVelas score: combines the average rating and the number of customer reviews on Amazon.
What a heat gun does for candles
A heat gun blows a focused stream of hot air, much hotter than a hair dryer. Crafters use small "embossing" heat guns for stamping, and the same tool is perfect for candles. It melts just the top layer of wax, so you can fix cosmetic flaws without remelting the whole candle.
The most common jobs are smoothing rough or cracked tops on soy wax candles, closing small sinkholes around the wick, warming glass jars before pouring to reduce wet spots, popping air bubbles in gel wax, and loosening stuck pillars from molds. It is also excellent for cleaning wax residue out of your pitcher.
Think of it as a finishing tool rather than a rescue tool. If every batch needs heavy touch-ups, something earlier in the process is off, usually the pour temperature or the room temperature. Fix that first, and use the heat gun for the final polish that makes a candle look professional.
What to look for when buying
- Size and power: a small craft heat gun (about 300 W) is easier to control and less likely to blow wax around. Large DIY guns (1,500–2,000 W) work but need a low setting and more distance.
- Adjustable temperature or airflow: at least two settings, ideally a low airflow mode, so the hot air does not ripple the wax.
- Stand: a model that can rest upright or on a stand cools down safely between uses.
- Cord length: 1.5 m (5 ft) or more lets you move around your workspace.
- Nozzle: a narrow nozzle focuses heat on a small area, such as around the wick.
- Overheat protection: a cut-off switch is worth having.
Types compared
| Type | Typical power | Control | Best for |
|---|---|---|---|
| Craft/embossing heat gun | About 300 W | Very gentle | Smoothing tops, small jars, bubbles |
| Mini heat gun with 2 settings | About 300–600 W | Good | All-round candle work |
| DIY heat gun | 1,500–2,000 W | Needs care | Prewarming many jars, cleaning tools |
| Hair dryer (alternative) | 1,200–1,800 W | Weak heat, strong airflow | Emergency use only |
How to use and clean it
- Let the candle set completely (usually several hours or overnight).
- Hold the heat gun about 10–15 cm (4–6 in) above the surface on the lowest setting.
- Move in slow circles until the top layer just turns glossy and liquid, then stop.
- Do not aim at the wick for long: you can melt the wick tab adhesive or bend a wooden wick.
- Let the candle cool on a level surface, away from drafts.
To prewarm jars, pass the gun over the inside of each clean jar for a few seconds just before pouring. The glass should be warm to the touch, not hot.
Cleaning: keep the vents free of dust and wax flakes. Unplug and let the gun cool fully before wiping the outside with a dry cloth.
Safety
- The nozzle stays hot for several minutes after switching off. Always rest the gun on its stand, pointing away from anything flammable.
- Never point it at people, pets or your hands, and never use it near fragrance oil bottles or solvents.
- Too much heat can crack glass jars: keep moving and do not concentrate on one spot.
- Do not use a heat gun on a lit candle or near an open flame.
- Keep children away and unplug when finished. See our candle safety guide.
Common mistakes
- Holding it too close: wax ripples, splashes or burns fragrance off the surface.
- Melting too deep: you only need the top few millimeters. Deeper melting can create new sinkholes as it cools.
- Using it instead of fixing the cause: rough tops often come from pouring too hot or too cold. Our troubleshooting guide helps you find the cause.
- Blasting a cold jar: sudden heat on very cold glass can crack it. Warm gradually.
Pros and cons
👍 Pros
- ✓ Fixes cosmetic flaws in seconds
- ✓ Small craft models are cheap and easy to control
- ✓ Also useful for cleaning tools
- ✓ Reduces wet spots when used to prewarm jars
👎 Cons
- ✗ Too much heat can crack glass or ripple the wax
- ✗ Nozzle stays hot after use
- ✗ Large DIY models can be hard to control on small candles
How to use heat gun for candles, step by step
- Let the candle set fully before touching up.
- Turn the heat gun on its lowest setting.
- Hold it 4–6 in (10–15 cm) above the wax.
- Move in slow circles until the surface turns glossy.
- Stop as soon as the top is smooth.
- Let the candle cool on a level surface.
- Rest the gun on its stand until it is cool.
Tips
- A 300 W craft heat gun is easier to control than a big DIY model.
- Warm jars right before pouring, not minutes ahead.
- Work in a draft-free spot so the top sets evenly afterward.
- Use short passes around the wick to avoid loosening the wick sticker.
- Do a test burn after any fix to check the candle still burns evenly.
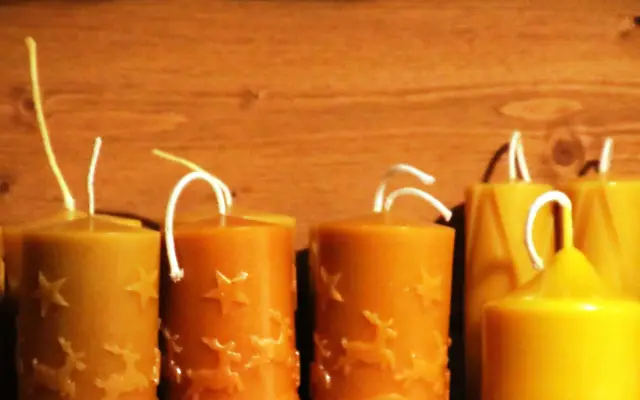
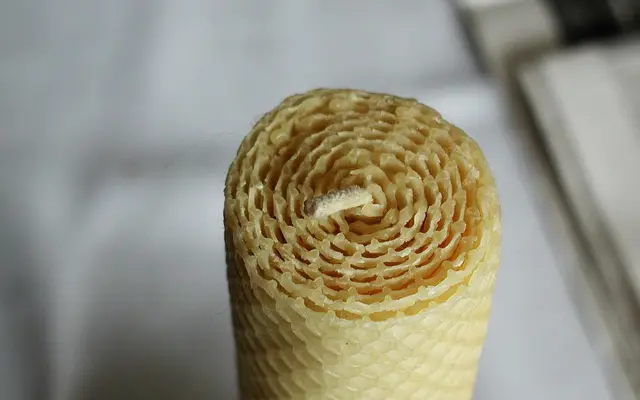
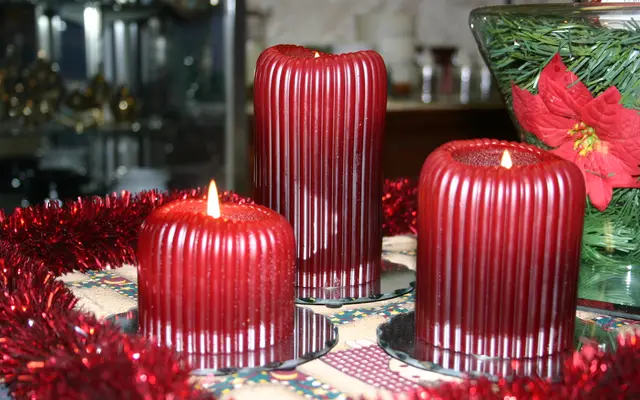
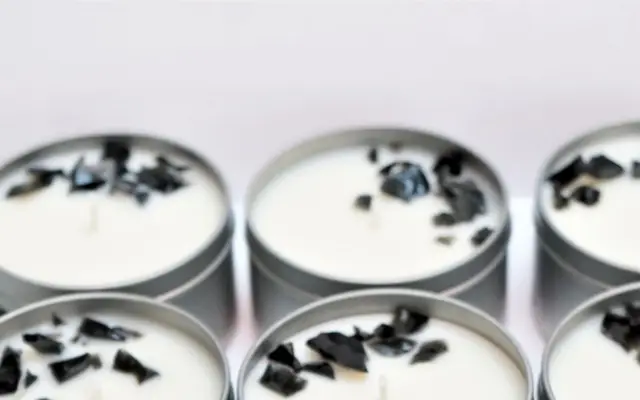
Projects with heat gun for candles
Related supplies
 🕯️ Molds Silicone candle molds Silicone candle molds are the easiest way to make pillar and shaped candles at home: they flex, release cleanly and capture fine detail without any mold release spray. See guide →
  🫙 Containers Glass candle jars Empty glass candle jars are the classic home for container candles: they show off the wax, hold heat evenly and, if you pick the right glass, stay safe from the first light to the last. See guide →
 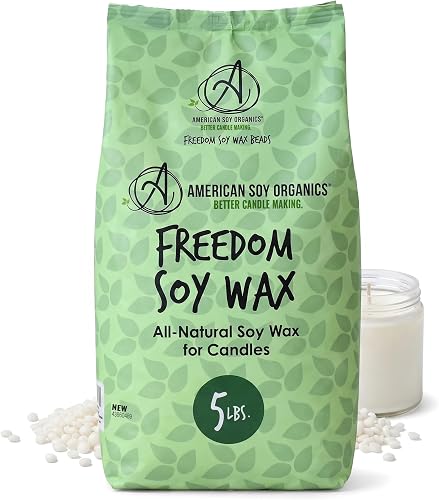 🫘 Waxes Soy wax Soy wax is the go-to natural wax for container candles: creamy, beginner-friendly and known for a slow, clean burn. See guide →
  🌡️ Tools Candle thermometer A candle thermometer takes the guesswork out of melting, adding fragrance and pouring, and it is the single biggest upgrade to the look and scent throw of your candles. See guide →
  🫕 Tools Candle pouring pitcher A candle pouring pitcher is the one tool every candle maker uses on every single batch: you melt the wax in it, stir in the fragrance and pour straight into your jars without a mess. See guide →
  🪨 Containers Concrete candle vessels Concrete candle vessels bring a modern, minimalist look to homemade candles. They are sturdy and heavy, but they need a proper seal so wax and fragrance oil do not soak in. See guide →
 Frequently asked questions
Can I use a hair dryer instead of a heat gun?
In a pinch, but a hair dryer has strong airflow and weak heat, so it pushes the wax around and takes longer. A craft heat gun is much easier.
Will a heat gun fix every rough candle top?
It fixes most surface bumps and small holes. Deep sinkholes are better fixed with a second pour of a little melted wax.
Does heating the top affect the scent?
Briefly heating a thin layer does not noticeably change scent throw, but long blasts can drive off some fragrance from the surface.
What wattage heat gun is best for candles?
A small craft gun around 300 W, or any model with a low setting, gives the most control.