🛈 As an Amazon Associate, CeraVelas earns from qualifying purchases. If you buy through our links, Amazon pays us a small commission at no extra cost to you. That’s how we keep the site running. How we choose.
📑 Contents
What you’ll need
-
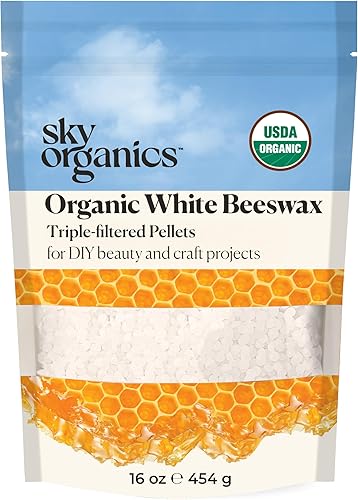 Beeswax Waxes Buy
 -
 Cotton candle wicks Wicks Buy
 -
 Wick stickers Wicks Buy
 -
 Wick centering devices Wicks Buy
 -
 Glass candle jars Containers Buy
 -
 Candle pouring pitcher Tools Buy
 -
 Candle thermometer Tools Buy
 -
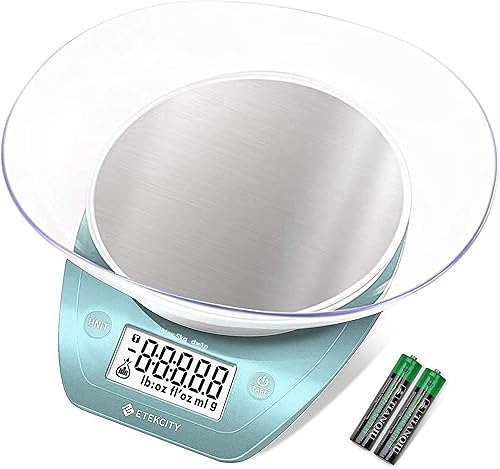 Digital scale for candle making Tools Buy
 -
 Heat gun for candles Tools Buy
 -
 Wick trimmer Tools Buy
What you need
Pure beeswax is hard and shrinks a lot as it cools, so for jar candles it's usually blended with a little oil or coconut wax. That helps the candle stick to the glass, crack less and melt all the way across instead of tunneling.
For three 7 oz (about 200 ml) jars you'll need:
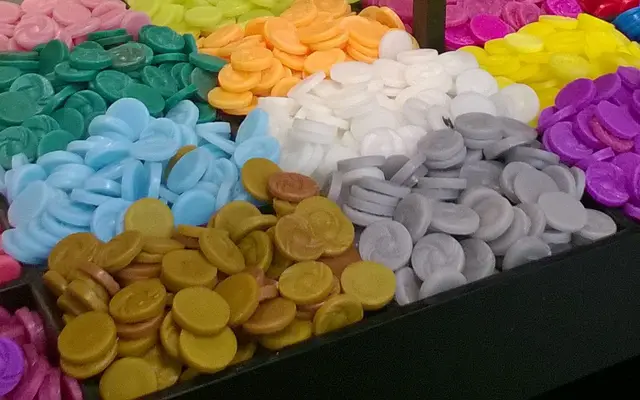
- 400 g (14 oz) of beeswax pastilles (yellow or filtered white).
- 100 g (3.5 oz) of coconut wax or coconut oil (an 80/20 blend).
- 3 pre-tabbed cotton wicks, one size larger than you'd use with soy.
- Wick stickers and centering bars.
- Optional: essential oils, 3–6% at most. Beeswax already has its own scent and holds less fragrance than soy.
Tools: a pouring pitcher you keep just for beeswax (it's hard to clean), a thermometer, a scale, a heat gun, a wick trimmer and sturdy candle jars.
| Stage | Typical temperature | Note |
|---|---|---|
| Beeswax melt point | 62–65 °C (144–149 °F) | Starts to melt |
| Full melt of the blend | 75–80 °C (167–176 °F) | Don't exceed 85 °C (185 °F) |
| Add essential oils | 70–75 °C (158–167 °F) | Stir 1–2 minutes |
| Pour | 65–75 °C (149–167 °F) | Into pre-warmed jars |
Preparation
Warm your jars; with beeswax it's practically required. Put them in the oven at about 140–160 °F (60–70 °C) for 10 minutes, or hit them with the heat gun right before pouring. A cold jar makes the wax shrink suddenly and pull away from the glass.
Stick the wicks in the center. Beeswax is dense and the flame needs more fuel, so when in doubt go one size up from what the wick calculator suggests for soy, then test.
Process
Melt the beeswax and coconut in a double boiler. Beeswax starts melting around 144–149 °F (62–65 °C); bring the blend to 75–80 °C (167–176 °F) but don't overheat it, or it darkens and loses its scent. Never melt it over direct heat: it's flammable at high temperatures.
If you're adding essential oils, do it at 70–75 °C (158–167 °F) and stir for a minute or two. Plenty of makers leave beeswax unscented, since that honey aroma is the whole appeal.
Pour at 65–75 °C (149–167 °F) into the warm jars, slowly, leaving about 1/2 inch (1–1.5 cm) of headspace. Unlike soy, beeswax is poured hotter so it bonds to the glass. Set the centering bars and let the candles cool slowly; covering them with a cardboard box helps the temperature drop gradually.
A sinkhole around the wick is normal. When the candle is almost set, poke a few relief holes near the wick with a skewer and top off with the wax you saved, reheated to the same temperature.
Curing
Beeswax doesn't need the two-week cure of a scented candle. After 2–3 days the wax has settled and the candle burns more evenly. If you added essential oils, a week improves the scent. The curing guide covers the details.
First burn
Trim the wick to about 1/4 inch (5–6 mm). On the first burn, let the melt pool reach the edge of the jar; with beeswax that can take a little longer, around 3 hours in a 3 inch (7–8 cm) jar. If there's still a hard ring at the edge after that, the wick is too small. Always keep an eye on the candle, keep it out of drafts and test burn every batch.
Over time a whitish film called "bloom" may appear on the surface. It's natural for beeswax; buff it off with a soft cloth or a quick blast of warm air.
Variations and ideas
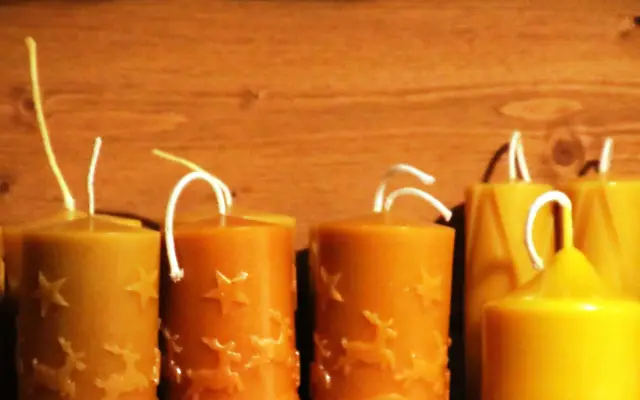
- Pillars: pure beeswax is perfect for molded pillars; see pillar candles.
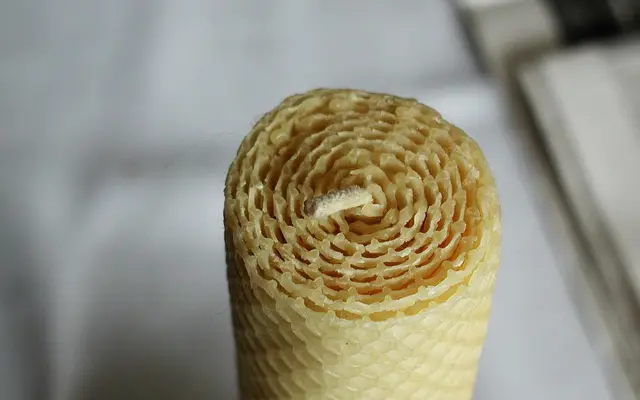
- No melting: for something quick, try rolled beeswax candles.
- Soy blend: 30–50% soy brings the cost down and improves adhesion.
- Tapers: with a mold, see taper candles.
Troubleshooting
Tunneling
The wick is too small or the wax too hard. Size up the wick or add more coconut.
Cracks or pulling away from the glass
Cold jars or fast cooling. Pre-warm the jars and insulate the candles while they cool.
The flame goes out
The wick is drowning in the dense wax. Try a bigger size.
Smoke or mushrooming wick
The wick is too big or untrimmed. Trim it before every burn. More fixes in the troubleshooting guide.
Step by step
- 1 Pre-warm the jars in the oven at 140–160 °F (60–70 °C) or with a heat gun.
- 2 Stick a pre-tabbed cotton wick in the center of each jar.
- 3 Weigh out 400 g (14 oz) of beeswax and 100 g (3.5 oz) of coconut wax or oil.
- 4 Melt the blend in a double boiler to 75–80 °C (167–176 °F), never above 85 °C (185 °F).
- 5 For scent, add essential oils at 70–75 °C (158–167 °F) and stir for a minute or two.
- 6 Pour slowly at 65–75 °C (149–167 °F) into the warm jars, leaving 1/2 inch of headspace, and save a little wax.
- 7 Set the centering bars and cover the jars with a box so they cool slowly.
- 8 When nearly set, poke relief holes near the wick and fill the sinkhole with the saved wax.
- 9 Let the candles rest for 2–3 days.
- 10 Trim the wick to 1/4 inch and test burn until the melt pool reaches the edge.
Tips
- Keep one pitcher just for beeswax; it's very hard to clean completely.
- Use filtered beeswax from a known source so debris doesn't clog the wick.
- If the wick drowns, go up a size; beeswax nearly always needs a bigger wick.
- To clean up, warm the tool and wipe the wax off with paper towels before washing.
- White "bloom" is natural; a soft cloth or a heat gun takes it right off.
Mistakes to avoid
- Pouring into cold jars: the wax cracks and pulls away from the glass.
- Using the same wick you'd use for soy: it's usually too small and tunnels.
- Overheating the wax: it darkens, loses scent and raises the fire risk.
- Adding lots of fragrance: beeswax holds very little and can sweat.
- Cooling candles in a draft or in the fridge.
⚡ Our top picks: beeswax
Stock checked on October 6, 2026
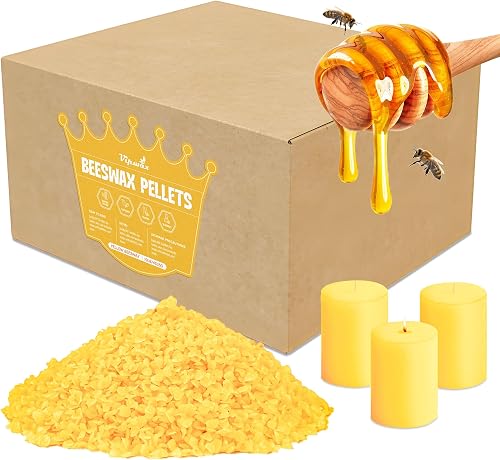
The best beeswax for beeswax candles
Sky Organics Organic White Beeswax Pellets 16oz, DIY Beauty, USDA Organic

Meyer's Pure Domestic USA Beeswax, Not Imported, Additive Free Triple Filtered Pellets for All Your Do It…

VIPwax White Beeswax Pellets 1LB, Natural Organic Beeswax for Candle Making
VIPwax Yellow Beeswax Pellets 10LB(4530g), Natural Organic Beeswax

White Beeswax Pellets 5LB(2265g), Natural Organic Beeswax
Beeswax Pellets 10LB Beewax Triple Filtered Beeswax Pastilles for Candle Making Great for DIY Projects (10LB)
CeraVelas score: combines the average rating and the number of customer reviews on Amazon.
Frequently asked questions
Why blend beeswax with coconut?
Pure beeswax is hard and shrinks a lot. Around 20% coconut helps the candle stick to the glass, crack less and melt all the way across.
Can you scent beeswax candles?
Yes, with essential oils up to 3–6%, but beeswax holds less fragrance than soy. Many people prefer its natural honey scent.
Are beeswax candles vegan?
No, beeswax is an animal product. For a vegan option, go with soy, rapeseed or coconut wax.
What's the white coating on my beeswax candle?
It's called bloom, a natural feature of beeswax. It doesn't affect the burn and buffs off easily.
What wick should I use for beeswax?
A braided cotton wick a bit larger than usual. Start with the calculator, go up one size and confirm with a test burn.
More projects to make at home