🛈 As an Amazon Associate, CeraVelas earns from qualifying purchases. If you buy through our links, Amazon pays us a small commission at no extra cost to you. That’s how we keep the site running. How we choose.
📑 Contents
⚡ Our top picks: tealight cups
Stock checked on October 6, 2026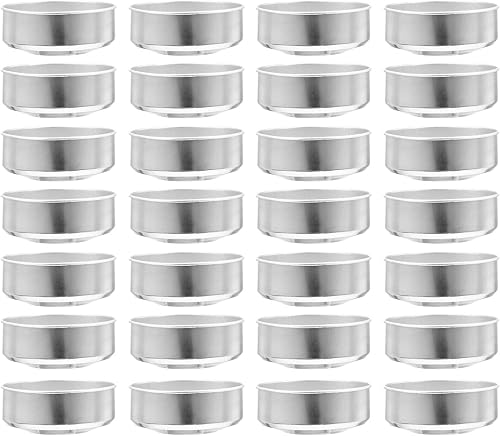
Best tealight cups in stock
Beatifufu 100pcs Aluminum Tealight Cups Empty Containers Round Silver
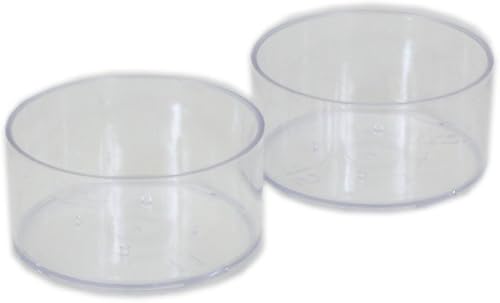
candlemakers Tea Light Clear Plastic Cups: 100 Cups
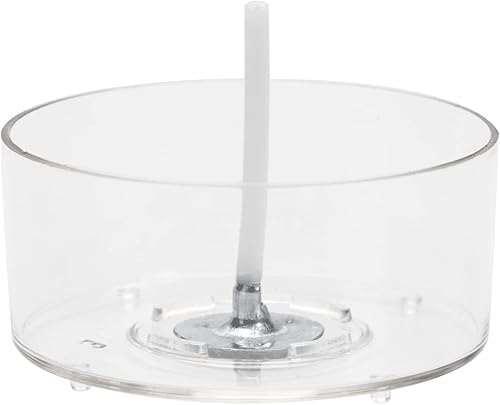
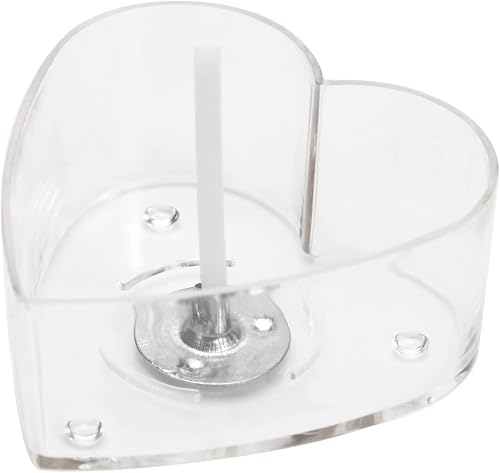
CandMak Tea Light Candle Cups, 50pcs Clear Polycarbonate Plastic Empty TeaLight Mold Tin Container with 50pcs…
CandMak Tea Light Candle Cups, 50pcs Clear Polycarbonate Plastic Empty TeaLight Mold Tin Container with 50pcs…

CandMak Tea Light Candle Cups, 50pcs Clear Polycarbonate Plastic Empty TeaLight Mold Tin Container with 50pcs…

Lerner Clear Tea Lights Candles Bulk - 4.5 Hour Clear Cup Tealight 50 Pack - Consistent Smkless Clean Burning…
See more tealight cups on Amazon →
CeraVelas score: combines the average rating and the number of customer reviews on Amazon.
What tealight cups are
A tealight is a tiny candle poured into a shallow cup. The cup acts as both the mold and the container: it holds the wax while it sets, keeps the melted pool contained while burning and stops wax from running onto your table or warmer. You can buy empty cups in packs of 50 to several hundred, usually with matching pre-tabbed wicks.
The classic cup is thin aluminum, cheap and recyclable. Clear polycarbonate cups look more upscale because you can see the colored wax inside, which makes them popular for gifts and for selling. Making your own tealights is quick and satisfying, and a good way to use leftover wax. Check our tealight tutorial for the step-by-step process, and our guide to recycling old candles if you plan to reuse wax scraps.
What to look for when buying
- Material. Aluminum cups are inexpensive, heat-resistant and recyclable. Clear polycarbonate cups look great but must be rated for candle use; never use random plastic cups, because they can soften or melt.
- Size. Standard tealight cups are about 1.5 in (38 mm) wide. Maxi tealights are larger and burn longer but need bigger wicks.
- Wicks included. Many packs come with pre-tabbed wicks. Check the length and whether the wicks are primed (waxed), which makes them easier to set.
- Rim and wall quality. Very thin aluminum dents easily. Smooth rims and straight walls stand better on a tray when you pour.
- Quantity. Cups are cheap in bulk, but buy a small pack first if you are testing waxes and wick sizes.
Common sizes
Burn times depend on the wax and wick, so treat these as rough guides only and do your own test burn.
| Type | Approx. diameter | Approx. wax per cup | Notes |
|---|---|---|---|
| Standard aluminum tealight | 1.5 in (38 mm) | 10–14 g (0.35–0.5 oz) | The classic size for most holders and warmers |
| Clear polycarbonate tealight | 1.5 in (38 mm) | 10–14 g (0.35–0.5 oz) | Shows off colored wax; check the heat rating |
| Maxi tealight | about 2.3 in (58 mm) | 25–35 g (0.9–1.2 oz) | Longer burn, needs a larger wick and holder |
| Votive-style cup | about 2 in (50 mm) | 40–60 g (1.4–2.1 oz) | Deeper cup, more like a small container candle |
How to use them
Almost any container wax works: soy wax for a clean, natural option or paraffin for a bright flame and great scent throw. Line the cups up on a tray or baking sheet so you can move them in one go. Fix a pre-tabbed cotton wick to the center of each cup with a wick sticker or a dot of melted wax.
Melt the wax in a double boiler or melting pot. If you are adding fragrance, use a modest amount within the supplier's range, because tealights have a small melt pool. Pour carefully to just below the rim, using a pitcher with a narrow spout. Straighten the wicks as the wax begins to set and let the tealights cool fully at room temperature. For neat tops, give them a quick blast of a heat gun or a small top-up pour.
The cups are not meant to be cleaned and reused; aluminum can be recycled once the wax is fully burned. Keep spare cups dry and stacked so they do not dent.
Safety tips
- Never melt wax over direct heat. Use a double boiler or a melting pot and check the temperature.
- Always burn tealights in a holder on a heat-resistant surface. The cup gets hot, and aluminum can scorch a table.
- Polycarbonate cups must be rated for candles; an unsuitable plastic cup can soften and catch fire.
- Do not place tealights too close together; several flames can overheat each other.
- Keep tealights out of reach of children and pets, never leave them burning unattended and test burn every batch. Read our candle safety guide.
Common mistakes
- Wicks that are too big. A large flame in such a small candle overheats the cup and burns through the wax far too fast.
- Too much fragrance. Excess oil in such a small amount of wax can make the flame smoky or flare up.
- Overfilling. Wax right at the rim spills when you move the tray and makes messy candles.
- Crooked wicks. If you do not straighten them while the wax sets, the flame burns to one side.
- Using random plastic containers. Only use cups designed for candles.
Pros and cons
👍 Pros
- ✓ Very cheap, especially in bulk packs
- ✓ Quick to pour and set: great for batch work
- ✓ Aluminum cups are recyclable
- ✓ Clear cups make colored wax look attractive for gifts
👎 Cons
- ✗ Single-use: cups are not designed to be refilled
- ✗ Thin aluminum dents easily during storage
- ✗ Small melt pool limits scent throw
- ✗ Clear plastic cups must be candle-rated to be safe
How to use tealight cups, step by step
- Line up the empty cups on a tray or baking sheet.
- Stick a pre-tabbed wick to the center of each cup.
- Melt the wax in a double boiler or melting pot.
- Add fragrance and color sparingly, within the supplier range.
- Pour the wax to just below the rim with a narrow-spout pitcher.
- Straighten the wicks as the wax starts to set.
- Let them cool completely, trim the wicks and test burn one from the batch.
Tips
- Pour on a tray so you can move a whole batch without spilling.
- Use a narrow-spout pitcher to fill tiny cups cleanly.
- Mark one tealight in each batch for test burning and keep notes.
- Clear cups look best with bright colors or layered wax.
- Recycle aluminum cups once the wax has completely burned away.
Projects with tealight cups
Related supplies
 🫘 Waxes Soy wax Soy wax is the go-to natural wax for container candles: creamy, beginner-friendly and known for a slow, clean burn. See guide →
  🕯️ Waxes Paraffin wax Paraffin wax is the most versatile and affordable candle wax: it takes bold colors, releases easily from molds and delivers the strongest scent throw. See guide →
  🧵 Wicks Cotton candle wicks Pre-tabbed, pre-waxed cotton wicks are where almost every homemade candle starts: inexpensive, reliable and available in dozens of sizes. See guide →
  🏷️ Wicks Wick stickers Wick stickers are small double-sided adhesive dots that keep the wick tab stuck to the bottom of the jar while you pour your wax. See guide →
  🧊 Waxes Wax melt wax Wax melt wax is made for wickless melts and tarts: firm enough to pop cleanly out of clamshells and able to carry a lot of fragrance oil. See guide →
  🫕 Tools Candle pouring pitcher A candle pouring pitcher is the one tool every candle maker uses on every single batch: you melt the wax in it, stir in the fragrance and pour straight into your jars without a mess. See guide →
 Frequently asked questions
Can I reuse tealight cups?
They are designed to be single-use. You can scrape and refill aluminum cups, but they dent and the wick tab may not seat well. Recycling them is usually better.
Are clear plastic tealight cups safe?
Yes, if they are polycarbonate cups specifically rated for candles and paired with the right wick. Never use ordinary plastic cups.
What wick size do I need for tealights?
Use small wicks made for tealights, usually sold with the cups. Always test burn: the flame should be steady and not too tall.
Can I add fragrance to homemade tealights?
Yes, but keep it modest and within the supplier range. The small melt pool limits how much scent a tealight can throw.
Which wax works best in tealight cups?
Most container waxes work. Soy wax is a popular natural option, and paraffin gives a strong scent throw. Choose what suits your use.